
It’s almost Anthrochef’s 2 year anniversary. And to celebrate, we’re starting a recipe that will take 2 years to fully cook! That’s right, we’re fermenting some soy sauce from scratch.
I can think of few better examples of the power of human cultural tradition then something like soy sauce. Honestly, who first decided to make a soy and wheat dough, let it get moldy, dry it out, then let it ferment in brine for 2 years before consuming what resulted as a foodstuff??


It’s remarkable that people figured this out.
This recipe is a couple weeks of actual work, and then indeed a very long 1-2 year waiting period for the sauce to fully age (Full disclosure, this post is actually just part 1…) . It’s worth it though. Homemade soy sauce has an earthy, umami rich flavor that’s hard to locate in a store, even in the best Asian markets.
It will be a little scary eating this moldy soy dough brine when all is through, but we have a few elements on our side to battle any bad bacteria. Sunlight is key to the soy sauce fermentation process and also good at killing off bad microbes. Also, using charcoal as a weight should soak up some impurities from the water. Finally, when we strain this out a year from now, we’re going to boil before serving, one last measure of food safety before consuming this potent, delicious sauce.
SOY SAUCE
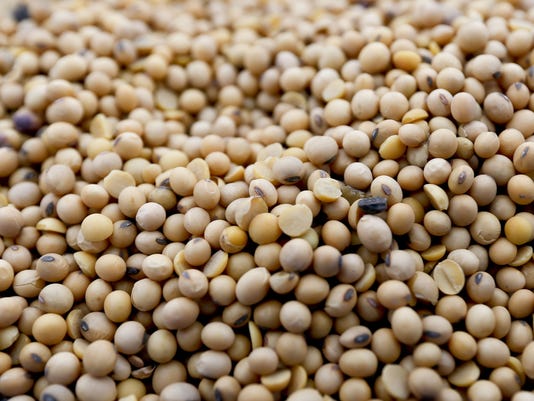
1.5 lbs. dried soybeans
2 cups whole wheat flour
1 gallon water
1 cup coarse salt
(optional) charcoal, jujubes, and szechuan peppercorns for weights
Those first 4 ingredients are all you really need. Simple stuff, with some very complex stuff about to happen to it.
First, we have to cook the soybeans. Soak them overnight in cold water, then drain, and refill with fresh water, covering the beans by a few inches. Boil until soft and breaking apart, 3-4 hours, then drain.


Now mash them any which way. Go old school with a stone grinder, or you know… don’t. Use a food processor, no one is keeping score. When fully mashed, add flour and mix with your hands into a firm but slightly sticky dough.
Shape the dough into a large rectangle then cut out brick size pieces, shaping them more into bricks if necessary.


Now comes the scary part. Lay out a damp towel to cover a baking sheet, then place soy bricks on it then cover with another damp towel. Let sit at room temperature for 3 days, flip all the bricks over, then recover and let sit 2 more days, for 5 days total. This is to develop the mold, or koji.
The soy bricks should be quite colorful and earthy smelling by now. Remove the towels and move the baking sheet outside, preferably into the sun, and let the bricks dry for 4 days, flipping halfway through.
Once they feel pretty dry, we need to dry them some more! Hang them up in a sunny place for another week at least, until they are dry all the way through. When that’s done, use a moist towel to wipe off some of the gnarlier patches of mold, so that the bricks are more or less a brown color.


Now we can make the brine.
In a gallon jar you won’t need for a while, fill almost to the top with water and 1 cup of salt. Combine and let sit until fully dissolved, about 20 minutes. Then discard 1/4 of the water.
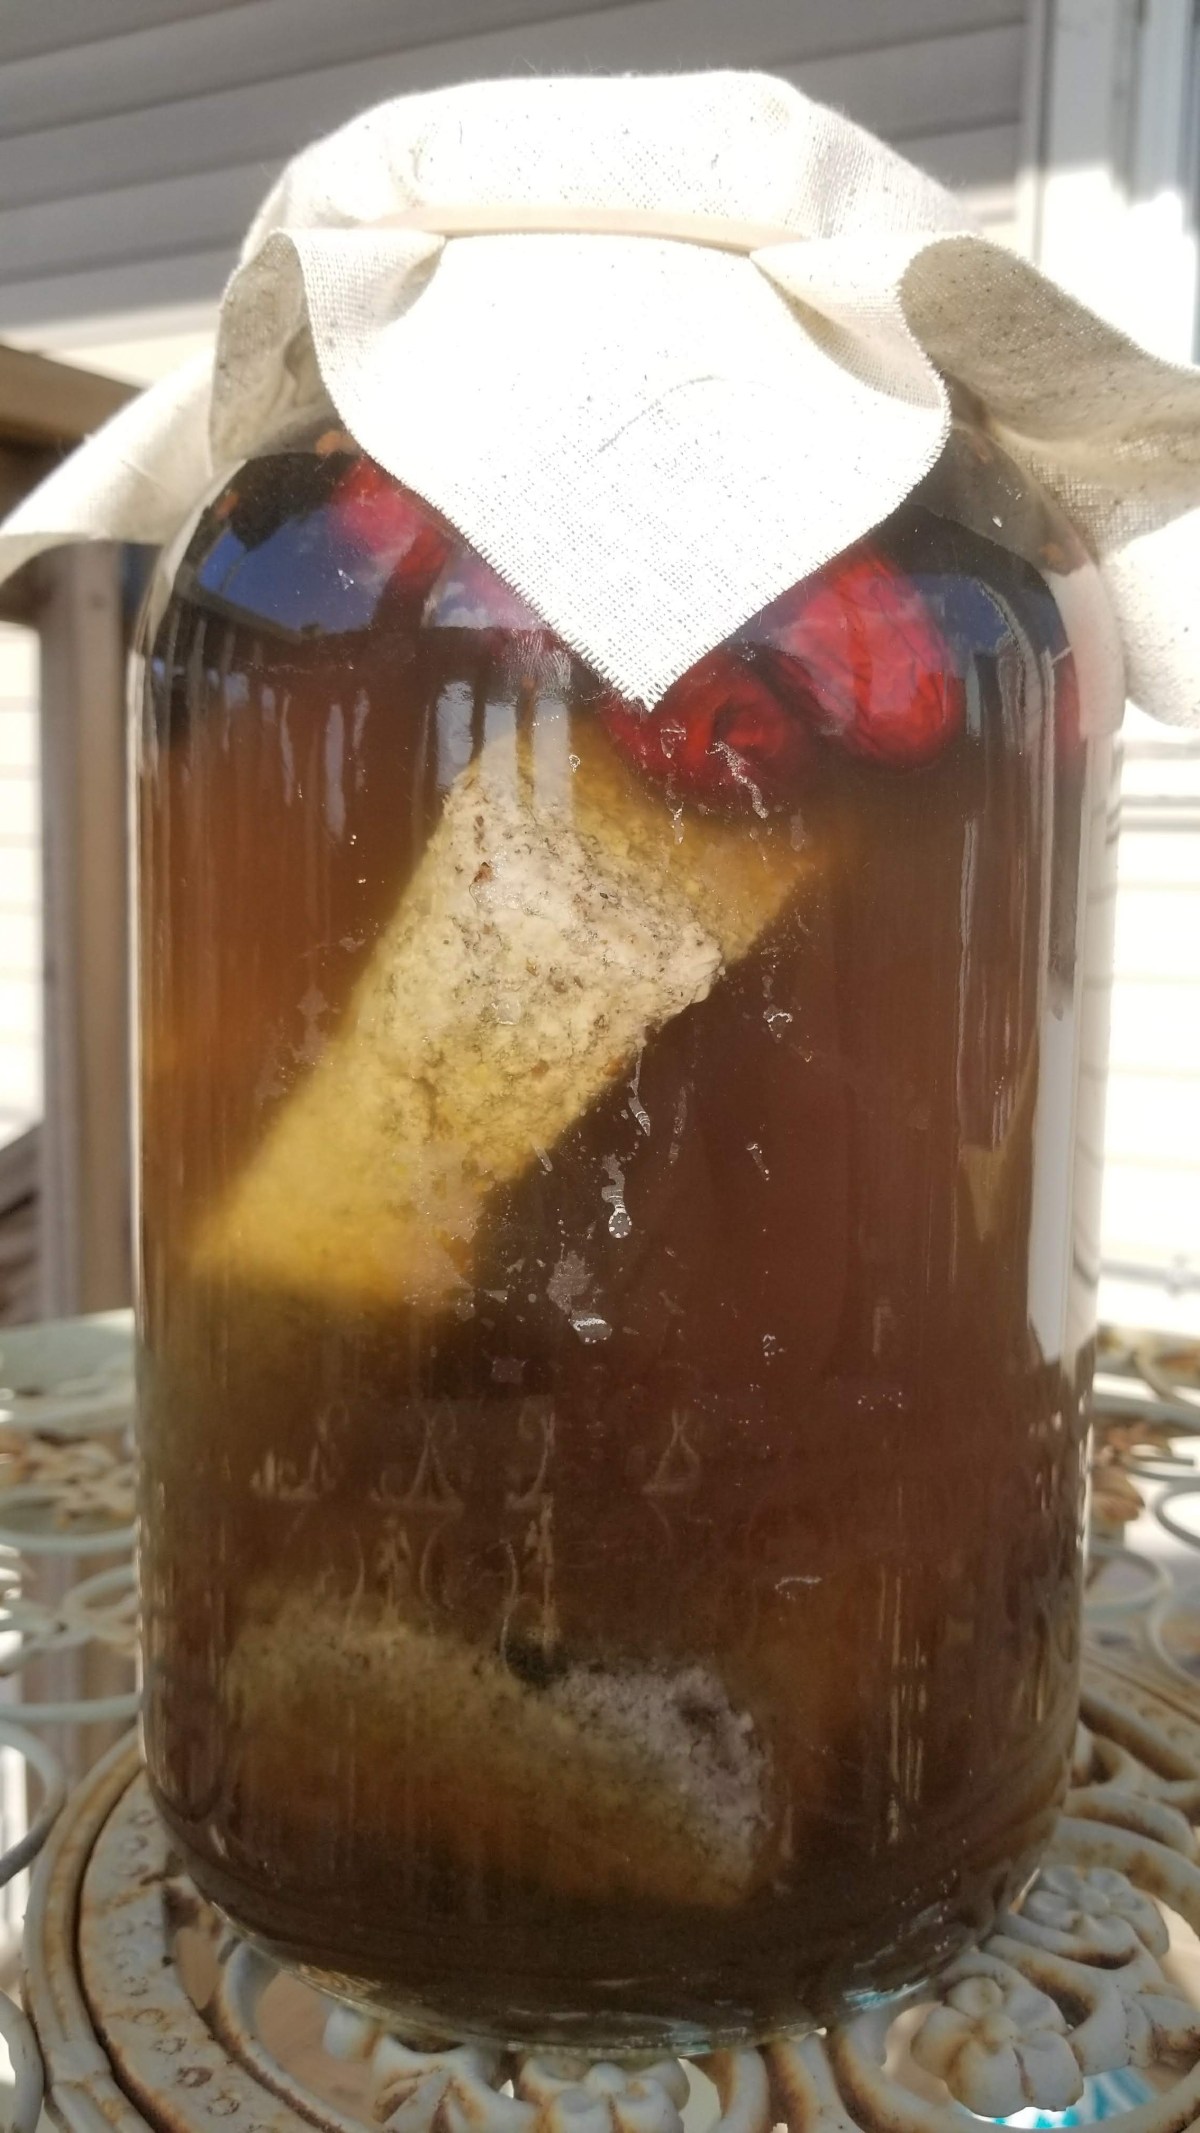
Submerge the soy bricks!


You may need weights to hold them down. You can just use any fermentation weights, but using Chinese dates, charcoal, and a couple Szechuan peppercorns for a bit of flavor sounds like more fun to me. Drop in as many as you need to form a full layer floating on top, then cover the jar with cheesecloth and secure with a rubber band.


That’s it, now we wait. The liquid should turn a nice, amber, more soy saucy color within hours.
Leave the jar in a sunny place, opening up and stirring once a week or so, for at LEAST one year, preferably two for a full flavored sauce. When it’s finally done, we will strain, and boil for 20 minutes before serving.


So I’ll see you in 2021 I guess!? When we open our soy sauce, it’ll be a brand new world, and hopefully someone else will be president.
