

Yes it’s already time for another cheese recipe. You’re going to be seeing a lot of them on this blog. Not only because cheese was a staple of many ancient diets, but also because cheese.
1 qt high quality, non homogenized milk (Goat or cow will work)
1 cup yogurt (or buttermilk or sour cream)
SaltDay 1
Set up a double boiler. This is just a medium pot half filled with barely simmering water, and a large bowl resting on top.
Whisk the yogurt or cultured cream in the bowl, then slowly pour in the milk, whisking as you go to fully incorporate. Stirring every 15-20 minutes, heat the milk until just warm, or 100 Fahrenheit. Turn off the heat and let the bowl sit unstirred a few minutes until it rises about 5-7 degrees.
Wrap in towels and put in a warm place 24 hrs.Day 2
Put the bowl on the boiler again and repeat as day one only this time do not stir it. Tilt the bowl every 20 minutes to recenter where the heat goes but otherwise leave undisturbed until the temps around the mixture range from 90-115 degrees, or to when curdling just begins but hasn’t set in.Day 3
Repeat process but on medium heat, tilting the bowl but not stirring until temperatures around the mixture range from 110-135 Fahrenheit. Take off the heat and stir.
Set four layers of cheese cloth in a colander over a bowl, and add entire mixture to drain. Scoop out now for “cottage cheese” with lots of whey, or tie off to sink for cream cheese (1-2 hours) or queso fresco (6-8 hours).
Our first recipe was as basic and fast as cheese can be. Today, we’re doing something a little more complex. Not much more difficult, but definitely much longer. This recipe takes 3 days total to complete, but only a couple hours of “active” time.
I like to call it Yogurt Cheese, as you’ll soon see why, but it also goes by other names like Farmers cheese or Cottage cheese, maybe because it’s a great use of very fresh milk right off the farm. As with all our dairy recipes, the quality of your finished product will depend on how good a milk you are using. Don’t skimp.
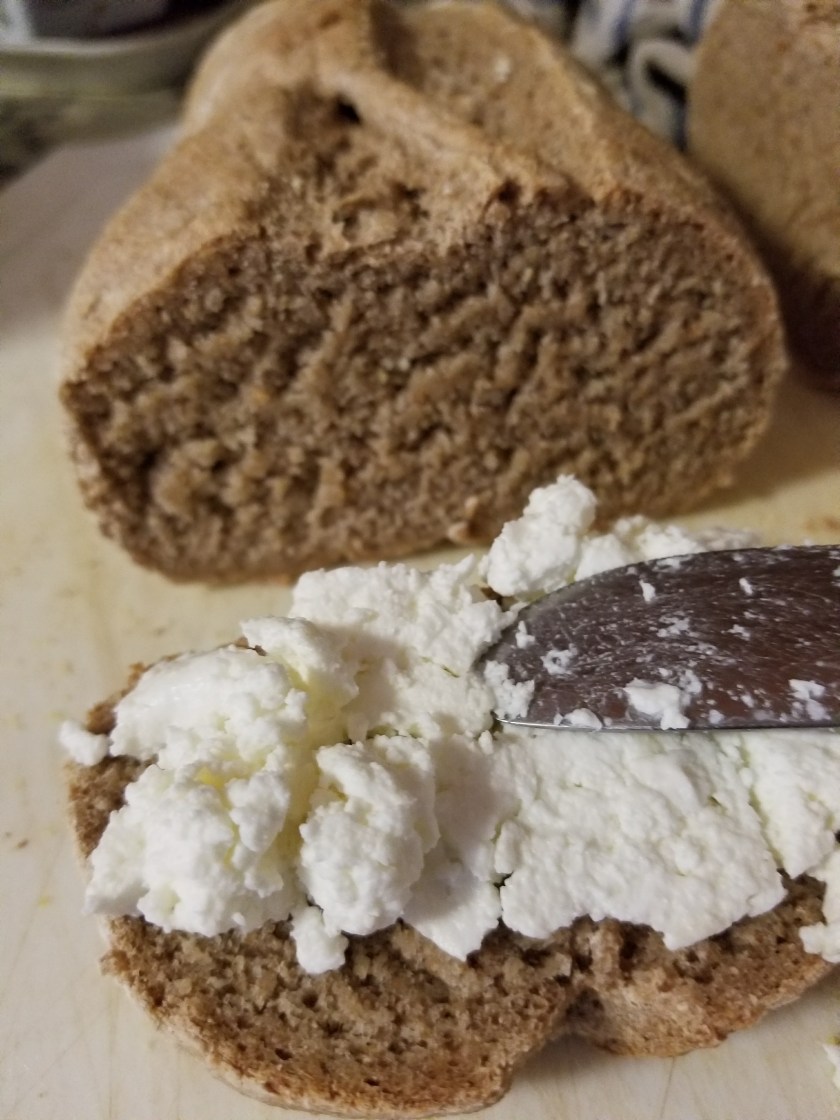
Done just right, it is somewhere between spreadable and crumbly, and can be adapted towards either end of the spectrum to suit your preference, depending on how long you hang it to drain at the end.


Top to bottom: 1) Something like cottage cheese from a tub at the store. 2) a spreadable almost cream cheese-esque cheese, and 3) what is essentially like queso fresco. I usually like something between 2 and 3, best of both worlds.
The ingredients and method have stayed simple, and one can easily imagine an ancient herder, whose left his or her yogurt drink in a spot just a little to warm for it, and discovered this fresh cheese.
We’re still going to use nothing but good quality milk (that has not been homogenized, or pasteurized at a high temperature) and Yogurt, but buttermilk works just as well, and cultured sour cream will work too. I like to mix and match depending on what I have.
Fill a medium sized pot halfway with water on low heat. Don’t let it boil or even simmer much. Whisk your yogurt in the bowl first and add the milk slowly to make sure it’s fully mixed. Then place it on your boiler.


Stir the milk every 15 minutes or so until it’s just over 100 degrees. You don’t want the milk to be hot, just warmed up above room temperature. When you hit that point, turn off the heat, and let the bowl sit another 10-15 minutes, until it’s warmed up a few degrees but not above 110.
Now wrap it in a kitchen towel and put in a warm place for 24 hours. Sound familiar? Yep, this cheese essentially starts out just making a batch of yogurt, just with a gentler heating method.

DAY TWO
The milk should now be what’s called clabbered, kind of a light, sticky yogurt or gelatin like substance. Test it by seeing if you can pick up some surface solids with a spoon, but Don’t stir it.
Now it’s time to put it back on the heat.
Heat on the low double boiler for about an hour just like this time, only do not stir. To help the heat distribute evenly, tilt the bowl 3 or 4 times during the process, heating to 100 degrees just like before. Turn off the heat and let it sit on the water another few minutes, then remove.
The milk should start to curdle a little, especially in areas that received more heat, meaning solid fat will separate from the clear yellowy liquid whey left behind. But don’t let it get too hot and curdle all the way. Overall, the solids should still be yogurty.


Take off the heat, wrap in towels and put back in the warm place for another 24 hours. These time frames, by the way, are not too sensitive. You can give or take a few hours and probably be just fine.
DAY THREE (Cheese day)
It’s almost time, my patient ancient.
Day 3 is similar but with some key differences.
Go back on the boiler with your almost-cheese, this time go ahead and turn the heat to medium. Tilt the bowl a few times as before. Now we’re getting the milk just barely hot, around 130 degrees, fully curdling it into cheese.
There should be all kinds of crazy things going on in the un-stirred bowl, sections of liquid whey, cheese curds, and spots of yogurty clabber all inter-mixing. Turn off the heat, and go ahead and stir it up.


Stir in some salt, take it off the heat and let stand for 15 minutes.
Set up four layers of cheesecloth in a colander over a bowl, and ladle in the curds. When all the big ones are gone, slowly pour the rest of the whey mixture in.


Now, if you want to eat soupy cottage cheese like you’d buy from the store, don’t do anything but let it sit a couple minutes, then very gently ladle the curds and a lot of whey into a bowl together. Add some salt and pepper, serve with fruit, eat with a spoon. Yum.


For an actual spreadable or crumble cheese though, you’ve got to carefully lift up the corners of the cheese cloth, lift out the bundle, and tie it to your sink to drain off. For a creamy and soft texture, only let hang for 1-2 hours. For something with more body and crumble, hang for 6-8.


Afterwards, unwrap, turn out, and enjoy.
You’ve got to eat some right away of course, but like the last recipe, the best flavor really comes in after aging in the fridge for a couple days, especially when it’s goat cheese.


Go give your goat or cow a pat on the head, then do the same to yourself. We’ve all earned it.
